
iPhone Data Eraser is actually an application for file deletion and privacy protection. It can be a tool to delete albums on iPhone permanently.
What You Need:
1. Your iPhone and its USB cable
2. Wondershare iPhone Data Eraser
3. Wondershare Mobile Transfer or iPhone Data Manager (Be used to backup iPhone data to computer)
Tutorial: Two Ways to Permanent Delete Albums on iPhone
1. Download and install the iPhone Data Eraser on your PC


2. After installation, run iPhone Data Eraser on your computer.
3. Connect your iPhone device via USB cable to your computer.
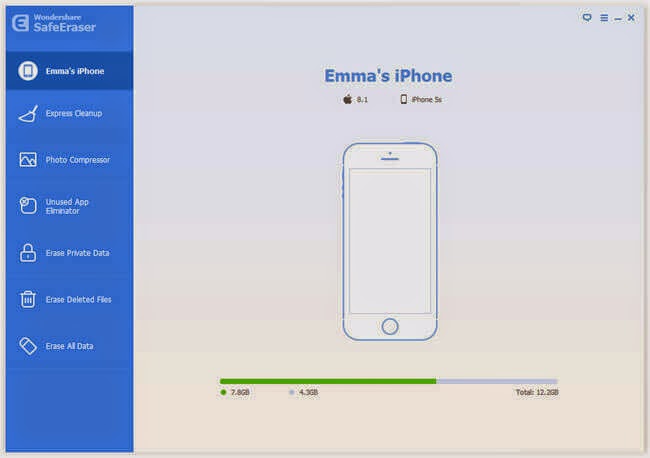
4. Once your device is recognized, the main window will pop up as below picture.
Way 1. Delete private albums on iPhone
1. Click "Erase Private Data" in the left column.
2. Click on the "Start Scan" button to analyze and scan the data on your device.
3. Once the scan is complete, select items listed under Private Data to view data details.
4. Click the box beside the data types you'd like to erase, here we tick the check box in front of the "Photos" option.

5. Click "Erase Now" and type the word "delete" to confirm the permanent deletion of the photos.
6. Permanently delete all selected private albums stored on your iPhone.
7. Click Done once the deletion is complete.
Way 2. Erase deleted albums on iPhone
1. Click "Erase Deleted Files" in the left column.
2. Click "Start Scan" to start analyzing and scanning the data on your device.
3. Select the deleted data to view detailed information on the file.
4. Unselect the files you wish to keep, there we just choose the "Photos".
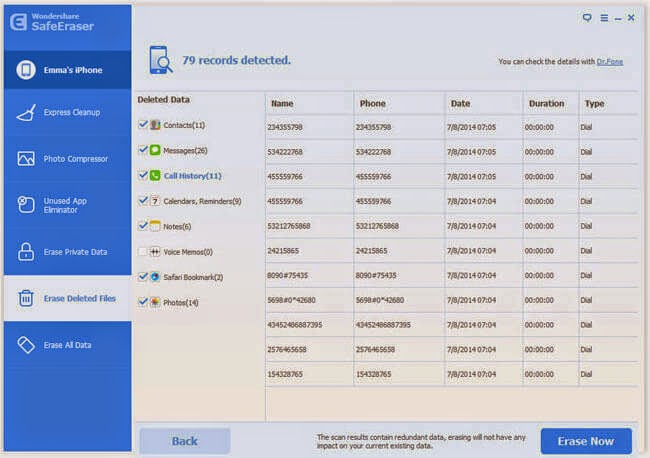
5. Clicking "Erase Now" and type the word ‘delete’ to confirm the permanent deletion of the photos.
6. Erase the selected file in a click
7. Once deletion is complete, click "Done", and the window will display ‘Successfully erased’.
Related Tutorial: Permanent Erase Photos from iPhone, iPad, iPod Touch
No comments:
Post a Comment